Boot Camp Installer Disc Could Not Be Found
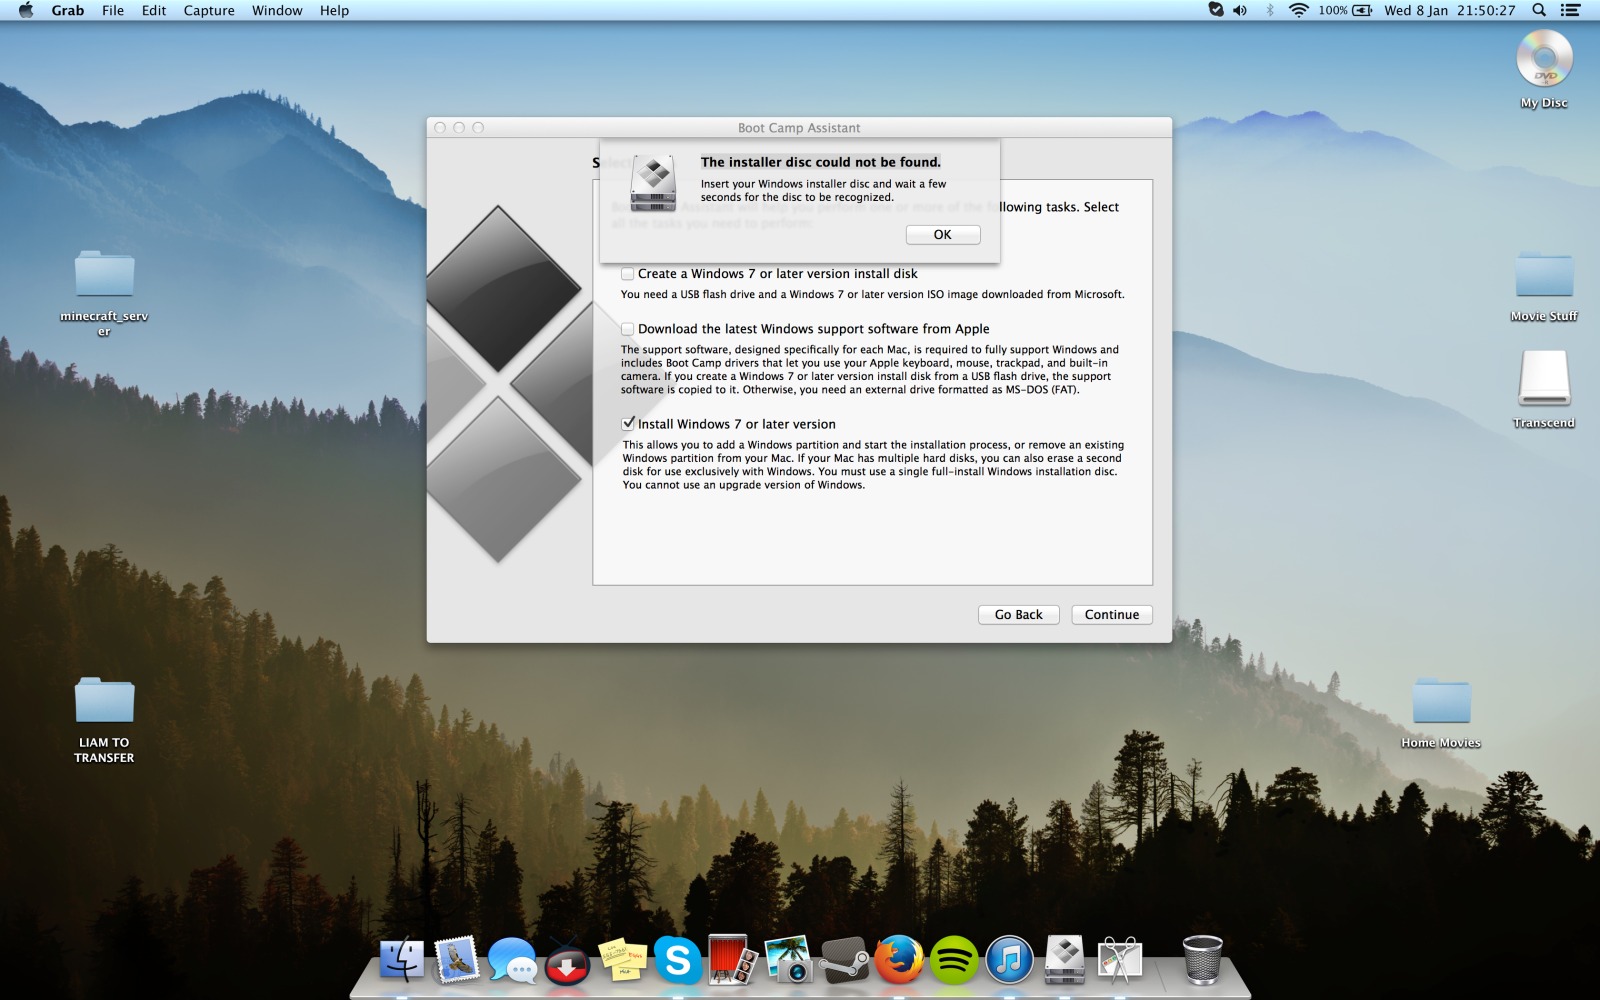
I'm trying to follow the directions on. I was able to create the drive and when I insert it into a Windows computer, it shows the installer correctly.The problem is that when I get to the 'Start Windows Installation' step in boot camp, it asks to insert the Windows disk. I inserted the USB drive, and it appears on the desktop, however, when I click Start Installation, I get the following error message:The installer disc could not be found.Insert your Windows installer disc and wait a few seconds for the disc to be recognized. I'm having the exact same problem.
Mount bootcamp's created disc, and replace the files with your known good ones (if you don't trust the torrented version). BUt, bootcamp assistant is pretty irritating to get going.
I tried holding the option key when rebooting to see if I could boot from the USB key but I could not find a way to do this, so I installed (then rebooted twice!) and THEN plugged in the USB key and the next time I rebooted it did show up as an option to boot from the USB key.I tried that and the windows installer loaded and it found the new bootcamp FAT32 partition. It said I couldn't install to the bootcamp partition because it requires NTFS.suggests 'simply format the partition using the Windows installer's built-in utility (in other words, as part of the installation process)' so I did that continued with the install and everything works fine! @Senseful - exactly! I close Boot Camp and reboot, then when the boot loader comes up instead of selecting the first option 'Boot Mac OS X from Macintosh HD' I press the right arrow and select Windows on Disk 1.
After that it's a normal windows install exactly as if the USB key were a DVD. It will reboot after copying the files and on the first reboot you select Windows on Disk 1 again, on the second reboot after it's done installing a third icon will appear in the boot loader 'Boot Windows from Partition 3' you can now boot into Windows and eject your USB key.–Feb 11 '11 at 21:03. Long story short. If you are using Lion, there is an easy way to use Bootcamp to install Windows. Bootcamp in itself has support to create Windows 7 install disk from iso file, but by default it is disabled for Macbook Pros.Check out for how to do it.With Lion, Apple has added an option to BootCamp that will create abootable USB Windows 7 install disk.Unfortunately, Apple only allows this on computers that supportbooting from a USB drive (a.k.a. They don't have optical drive) whichinclude the MacBook Air and 2011 Mac Mini. Their is a way around this,and after searching and finding the solution, I decided to pass it oneto you.
What the guy above says about the DAEMON Tools works, though there are more steps needed. First you'll need an ISO file, which you can actually make out of the flash drive by simply creating a new image file in Disk Utility by clicking on the New Image icon on the Toolbar, though obviously first you need the flash drive selected in the left hand column, make the Image Format DVD/CD Master (I don't think its necessary to have a encryption), and save it where you find convenient (like the Desktop). Now you can rename it from.cdr to.iso (it needs to be an ISO I believe). Now download and open DAEMON Tools (just use the 20 day trial), and press the Quick Mount icon at the bottom and navigate and open your ISO file. Now Boot Camp Assistant should be able to see your ISO file/data from flash drive, and the rest should be handled without problem.
You can also get the rEFIt boot manager if you want, be my guest. (Oh yeah, and this is using the latest software, Yosemite, though on a MacBook Pro 15 inch, Mid 2010) If the whole flash drive converting to ISO (I did here) doesn't work or isn't recognized, just get the Windows (whatever version) ISO file from the Microsoft website.
Get the fix for the error winload.efi is missing or corrupt on Windows 7, Windows 8 or Windows 8.1.
Contents
- 1 About “winload.efi is missing or corrupt“
- 2 Causes of this Error
- 4 Fix winload.efi missing or corrupt in Windows 7
- 5 Fix winload.efi missing or corrupt in Windows 8
- 6 More Information
About “winload.efi is missing or corrupt“
The following information on this error has been compiled by NeoSmart Technologies, based on the information gathered and reported by our global network of engineers, developers, and technicians or partner organizations.
Description and Symptoms
The error messages, alerts, warnings, and symptoms below are tied to this error.
Symptom 1: “winload.efi is missing or corrupt” error screen on startup
If the error screen mentions winload.exe and not winload.efi, go to Fix: winload.exe is missing or corrupt.
Other common winload.efi related error messages can be any of the following, depending on your Windows versions:
- winload.efi cannot be found
- winload.efi is missing
- winload.efi is missing or contains errors
- This program can’t start because winload.efi is missing from your computer
- There was a problem starting [path]winload.efi. The specified module could not be found.”
- This application requires the file winload.efi, which was not found on this system
The error code can be different from computer to computer, but the File: row mentions the winload.efi file at the windowssystem32 folder:
The winload.efi error can have different error codes, such as Error code: 0xc0000225 or Error code: 0xc0000001 or any other, but File always mentions the file as being winload.efi
Here’s how the winload.efi error with the 0xc0000225 code looks on Windows 8/8.1 systems:
On a Windows 7 computer the error screen looks like this:
Causes of this Error
This error has been known to occur as a result of one of the following causes:
Cause 1: The winload.efi file is corrupt or missing
Failed Windows Updates or Automatic Updates to Windows that involve an upgrade of critical system files (especially service pack installations) that update winload.efi may result in this error. Alternatively, this may happen because of hardware failure.
Cause 2: File system integrity compromised
The hard drive’s file system may become damaged because of disk write errors, power outages or virus attacks. If that’s the case, the operating system cannot find winload.efi to boot properly and the loading process is halted.
Fix winload.efi error with Easy Recovery Essentials
Easy Recovery Essentials is guaranteed to fix the “winload.efi error” error automatically using its built-in Automated Repair option. EasyRE is currently available for Windows XP, Vista, 7 and 8 and can be downloaded and created on any PC.
- Download Easy Recovery Essentials. Make sure to note your Windows version (XP, Vista, 7 or 8) before you download EasyRE. This guide can help you identify what version of Windows you have installed.
- Burn the image. Follow these instructions on how to burn the bootable ISO image very carefully, as making a bootable CD can be tricky! Alternatively, these instructions explain how to create a bootable EasyRE recovery USB stick/drive.
- Boot up your PC from the Easy Recovery Essentials CD or USB you created.
- Once EasyRE is running, choose the “Automated Repair” option and click Continue.
Choose “Automated Repair” in Easy Recovery Essentials
- After EasyRE scans your computer’s drives, identify and select the drive letter for your Windows installation from the list, and then click on the Automated Repair button to begin.
Choose the drive associated with the Windows installation you’re trying to repair.
- Easy Recovery Essentials will start analyzing the selected drive for problems. EasyRE will test for and attempt to automatically correct errors with the disk, partition, bootsector, filesystem, bootloader, and registry. No intervention is required, as EasyRE’s repair is fully automated:
Easy Recovery Essentials searches for errors and makes corrections to the selected Windows installation.
- Once the process is complete, EasyRE will report its findings. Click on the Restart button to reboot your PC and test the changes.
- The “winload.efi error” error should now be fixed as your PC begins to load:
You can download Easy Recovery Essentials from here.
Fix winload.efi missing or corrupt in Windows 7
Windows Setup CD/DVD Required!
Some of the solutions below require the use of the Microsoft Windows setup CD or DVD. If your PC did not come with a Windows installation disc or if you no longer have your Windows setup media, you can use Easy Recovery Essentials for Windows instead. EasyRE will automatically find and fix many problems, and can also be used to solve this problem with the directions below.
Fix #1: Rebuild the BCD
You can try to rebuild the BCD if the winload.efi error appears because of a corrupt BCD file:
- Insert the installation disc
- Restart your computer and boot from the disc
- Click Repair your computer
- At the System Recovery Options screen, select Command Prompt
- Run the following commands:
- Press Enter after each and wait for the commands to finish
- Restart your computer
bootrec utility results screen
If the above bootrec commands didn’t worked, try running the same commands 3 more times before proceeding to Fix #2 below.
If you don’t have the installation disc, you can check if your system has the system recovery tools installed on the hard disk to access Command Prompt. To do so, follow these steps:
- Restart your computer
- Press F8 as soon as your computer boots. Make sure you don’t have any media in your drives (CDs, DVDs etc)
- At the Advanced Boot Options screen, select Repair your computer
- Press Enter
- Your computer should now boot into the System Recovery Options screen
Fix #2: Run chkdsk and sfc
To run the chkdsk or sfc commands, follow these steps:
- Insert the installation DVD
- Restart the computer
- Boot from the DVD by pressing any key whenever the “Press any key” message appears
- At the Install Windows screen, click Repair your computer or press R
- Select Command Prompt
- Enter the chkdsk command:
Replace
c:with the letter of the drive where Windows 7 is installed - Press Enter
If the chkdsk utility doesn’t fix the winload.efi error, try running the sfc utility instead: Gold hack para priston tale 3.
- At Command Prompt, type the sfc command:
- Press Enter
sfc utility results screen
Fix #3: Disable secure boot
If you happen to have Windows 7 installed on a computer with UEFI and not BIOS, you can try to disable the Secure Boot option found in the UEFI boot options menu. This might fix the winload.efi error:
For more information on how to disable Secure Boot, follow the Disabling Secure Boot Guide.
- Boot into UEFI as soon as you boot the computer.Depending on your computer manufacturer, the key to boot into UEF menu can be F2 or F8 or F12 or Del or Esc.If none of the above keys work for your system, boot your computer and find the key you need to press listed on the first screen that appears on your monitor.
- Depending on your computer manufacturer, the UEFI boot menu can look different. Look for a Secure Boot option. This is usually found in a Boot or a Security or a Authentication tab listed in the menu.
- Once you’ve found the Secure Boot option, make sure it’s Disabled or Off.
- Save the changes and exit the UEFI menu
- Restart your computer
Fix winload.efi missing or corrupt in Windows 8
Fix #1: Disable Secure Boot
In most cases the winload.efi missing or corrupt error can disappear if the Secure Boot option is Disabled or Off in the UEFI boot menu.
For more information on how to disable Secure Boot, follow the Disabling Secure Boot Guide.
Uad 2 plugins bundle torrent. Enable internet and run UAD Universal Audio Plugins Bundles Cracked.
- Restart your computer
- Press the necessary key to boot into your system’s UEFI menu. Depending on your computer manufacturer (HP, Acer, Asus etc.), the key can be F2, F8, Esc or Del.On this Dell computer, the F2 key would open the UEFI menu. This screen is listed right after the computer boots.
- Search for the Secure Boot option. This option is usually placed in any of the following tabs: Security, Authentication or Boot.On HP computers Secure Boot is listed at the Security tab:On Acer computers it’s listed at the Authentication tab:
- Select the Secure Boot option and make sure it’s Disabled or Off
- Save the changes
- Restart the computer
Fix #2: Run Automatic Repair
Follow these steps to run Automatic Repair:
- Insert the Windows 8 media: the DVD or the USB
- Restart the computer and boot from the media
- Click Repair your computer or press R
- Select Troubleshoot
- Select Advanced options
- Click Automatic repair
- Follow the remaining steps to complete the process
If you don’t have the original Windows 8/8.1 media to access Automatic Repair, you can try to restart the computer multiple times:
- Hold the Power button to shutdown your computer
- Press the Power button to start your computer
- As soon as your computer stats to boot, press the Power button to shutdown your computer
- Perform these steps a few times until Windows 8 shows the Recovery screen:
Fix #3: Disable early launch anti-malware protection
If Fix #1 or Fix #2 doesn’t work to fix the winload.efi error, you can also try to disable the built-in anti-malware protection that your Windows 8 system has activated by default.
- Access the Advanced options screen (see Fix #2 steps on how to do this using the original disc or try to shutdown/start your computer a few times using the Power button)
- Click Startup settings
- Click Restart
- Your computer will restart and boot into the Startup Settings screen
- Press F8 to select 8) Disable early launch anti-malware protection
Fix #4: Run bootrec
Similar to Fix #1: Rebuild the BCD for Windows 7, you can try to run the same bootrec commands on your Windows 8 systems:
- Boot from the installation DVD or USB
- Click Repair your computer or press R
- Navigate to Troubleshoot > Command Prompt
- Type the bootrec commands:
- Press Enter after each command
- Remove the DVD or USB and type
exitin Command Prompt: - Press Enter
- Restart your computer
More Information
Linked Entries
Support Links
- Easy Recovery Essentials for Windows – our repair and recovery disk.
It’s an easy-to-use and automated diagnostics disk. It’s available for Windows 8, Windows 7 and Windows Vista. It’s also available for Windows XP and Windows Server.Read more at Windows Recovery Disks.
- The NeoSmart Support Forums, member-to-member technical support and troubleshooting.
- Get a discounted price on replacement setup and installation discs: Windows 7, Windows 8.
Applicable Systems
This Windows-related knowledgebase article applies to the following operating systems:
- Windows 7 (all editions)
- Windows 8 (all editions)
- Windows 8.1 (all editions)