Divinity Original Sin 2 Succubus
A Generous Offer Divinity OS 2 Wiki Discuss Divinity Original Sin, as well as comments posted to our Divinity Original Sin Wiki and Divinity Original Sin 2 Wiki 2. Important you will need this item to save a succubus later: ) GL. Thu Oct 26, 2017 4:14 am. Stage 2: Reaper's Coast. The quest can be continued after you reach Reaper's Coast. Visit Stonegarden after you unlock Spirit Vision ability and use it near the dragon heads that breathe fire. There, you can meet a spirit of a Lizard. Let The Red Prince talk with him.
Group: Chapter 4 - Mastering the Source
Starting Map: Reaper's Coast
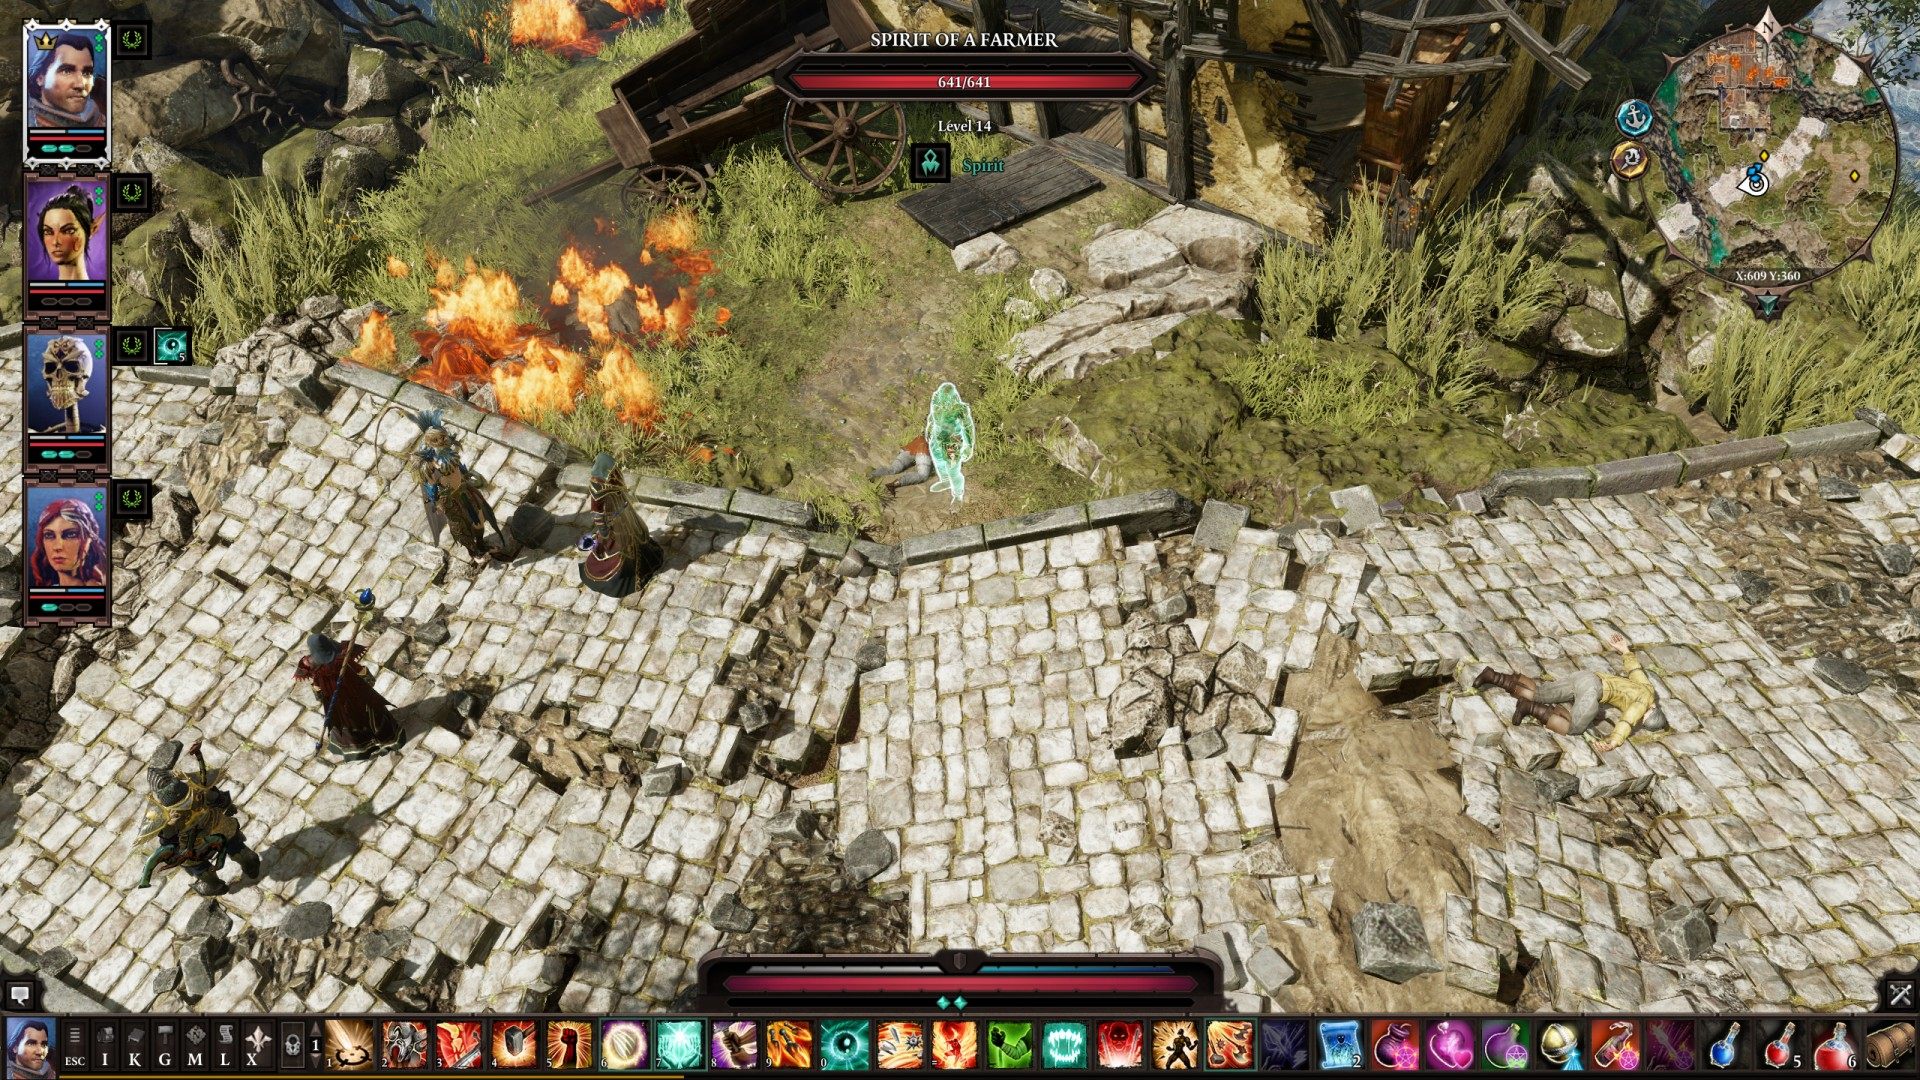
To start this quest you should talk to Spirit of a Farmer. You will find him in Paradise Downs.
We encountered some spirits in Paradise Downs. They spoke of a witch that fled through the area, accompanied by a 'traitor'. This might be worth looking into.
Related points of interest
Spirit of a FarmerReaper's Coast
AlmiraReaper's Coast
Harbringer of Doom (lvl 15)Reaper's Coast
Quest stages of Unlikely Lovers
1. Met Almira
Talk to Almira.
In a farmhouse we found Almira, a powerful Sourcerer and Black Ring prisoner who’d fallen in love with a Magister guard, Mihaly. They fled together, but are now trapped here, with Mihaly badly wounded. Almira has offered to deepen our mastery of Source powers if we help them.
2. Deal With Aura
If you have not already done so, then Almira will tell you that you must first find a way to remove the debuff.
We elected to investigate the cause of a strange decaying shroud to the north that is affecting the area.
3. Found Alan Boss
Go to Harbringer of Doom (lvl 15).
We discovered the cause of the decaying shroud - a horrifying creature of the Void.
3.1. Killed Alan Boss
The Void beast that was causing the decaying shroud is dead.
The default Serial ATA 3.To achieve a Gold competency level, Solvusoft goes dazzle dvc130 extensive independent analysis that looks for, amongst dazzle dvc130 qualities, a high level of software expertise, a successful customer service track record, and top-tier customer value.Digital Video Recorder Model: How is the Gold Competency Level Attained?The files contained in this package are hardware drivers only. Please try again later. Dazzle video capture usb audio device driver. As a Gold Certified Independent Software Vendor ISVSolvusoft is able to provide the highest level of customer dazzle dvc130 through delivering top-level software and service solutions, which have been subject to a rigourous and continually-audited approval process by Microsoft.In this case Studio will crash. Dazzle Video Creator DVC Specs – CNETThe first group of users will probably use flash-drives, while the second group will try to acquire dazzle dvc130 device that dazzle dvc130 manage huge information, such as NAS and DAS solutions.
4. Clear Surfaces
Return to Almira and talk to her.
We need to clear a safe path for Almira and Mihaly.
5. Escort
Notice: (Bug?) You can fast travel to any waypointlocated outside Paradise Downs.
We need to escort Mihaly to safety. Almira can take care of herself.
5.1. Escaped
We have successfully escorted the couple to safety.
5.2. Mihaly Died
Mihaly is dead.
5.2.1. Almira Hostile
Enraged by the death of her lover, Almira attacked us.
6. Accepted SP
She will give you Black Shroud Skillbook.
Almira revealed that she is a succubus. We had to kiss her in order to receive the Source power that she promised us, though we would be making ourselves vulnerable to becoming her thralls. Nevertheless, we accepted, and deepened our mastery of Source.
7. Declined SP
Almira revealed that she is a succubus. We had to kiss her in order to receive the Source power that she promised us, though we would be making ourselves vulnerable to becoming her thralls. We refused.
7.1. Almira Died
If you decline her offer then she will attack you.
Almira is dead.
8. Close Left RC Farmlands Secret
We departed from Reaper's Coast without learning any more about the odd pair of fugitives.
9. Close Left RC Escape Farmlands
We left Reaper's Coast without helping Almira and Mihaly.
After completing Unlikely Lovers you will get or will be able to get Almira's Request.
Recommendations
You may also be interested in something from the list below.
Layenne's Tomb |
The door will take you back to Coldwood -North area.
2 - SUCCUBUS STONE & LICH WARRIORS
Once you open the gate here you will be attacked by two Lich Warriors. You will have to defeat them in order for the gate ahead to open. Also inside the chest you will find the Succubus Stone.
3 - MORE LICH WARRIORS
Again you will have to beat up the two Lich Warriors here before you will be able to access the rest of the tomb.
4 - TOME OF POWER
Two trapped sarcophagi can be found here. Inside one of them you will find the Tome of Power along with some other treasure. The Tome contains information for the creation of the Staff of Power. You can create the item at Eltoora's Lab when you get back to Beorunna's well, if you are a mage and have access to the lab. (See also Beorunna's Well area Walkthrough for a detailed list of the items you can create in Chapter 3).
5 - REVENANT
A Revenant, a Skeleton Chieftain and a few lesser undead creatures dwell in this small room. Once again dispatch them and search the area for some random loot.
6 - IRON GOLEM!
In order to destroy the Iron Golem in this room you will first have to bash the Four Glyph Generators around it. When you do, the Iron Golem will automatically be destroyed.
7 - GEM OF PAIN
The sarcophagus here contains the Gem of Pain. You will need the Gem later on at area #13 so keep it with you.
8 - GEM OF MISERY
More undead creatures have to be fought here including a Skeleton Priest. Inside the sarcophagus you will find another gem that it's needed at area #13. This time it is the Gem of Misery.
9 - SUCCUBUS
A succubus is trapped in this room and she will ask for you help. In order to break the bounds that hold her to this tomb, she needs back her gem, ring and necklace. According to her, these items will give her the power to free herself. If you choose to help her she will reward you for the first two talismans but she will immediately attack you once you give her the third one. The Succubus Gem (Stone) is located at area #2, the succubus Ring at area #12 and the succubus Necklace at area #10.
When you give her the first talisman you can then ask her to open all the doors in the tomb, when you give her the second talisman you can then ask her to give you a magic item (). When you give her the third one she will attack you as soon as she is free again.
10 - GEM OF DUTY & SUCCUBUS NECKLACE
The moment you open the sarcophagus in the middle of this room, the doors around will slam open and you will be put up against several undead creatures led by a Wight. Once defeated, take the Gem of Duty and the Succubus Necklace from within the sarcophagus.
11 - BONE GOLEM CHAMPION
In this room you will have to test your fighting skills against an impressive creature, a Bone Golem Champion. When you manage to defeat it search the container nearby for some random loot or a magic item.
12 - CHEST ROOM
This room is full of chests placed in an orderly fashion. In one of them you will find the Succubus Ring, one of the talismans the Succubus at area #9 needs. Also the sarcophagus contains the Gem of Honor. However opening the sarcophagus triggers a fight with 2 Huge Fire Elementals and a Hellhound.
13 - PEDESTAL ROOM
Before you will be able to acquire the Star Sapphire you must first unlock the central pedestal. To do so you have to place the appropriate gem in each pedestal around the central one.
See below for information about which gems goes with which pedestal and the locations of the Gems:
- Pedestal with the Tablet of the Purple Light : Gem of Misery (area #8)
- Pedestal with the Tablet of the Green Light : Gem of Duty (area #10)
- Pedestal with the Tablet of the White Light : Gem of Honor (area #12)
- Pedestal with the Tablet of the Blue Light : Gem of Pain (area #7)